
Quick Guide to the world of Artresin.
As part of the process of my work, I finish my collaged canvases with "Artresin".
This particular resin was adapted in the US by artists for artists. ArtResin® is certified non-toxic (when used as directed) so it's not bad for your health like other resins.
No VOCs. No fumes. No solvents. No respirator needed. Non-flammable. Non-hazardous.
Conforms to ASTM D4236 (Safe for Home Use). ArtResin® is also chemically engineered to offer the most efficient yellowing protection on the market. Its advanced stabilization additives provide superior clarity for long-term non-yellowing performance.
Step 1. – List of tools
Artwork, ArtResin, Heat-gun, Newspaper, Bin bags (plastic), Wooden stirrer (lollypop stick), Plastic measuring cups, OLD Credit card/Store card, Rubber gloves, Cloths/rags, Spirit level, Wooden blocks, Sheet(s) of cardboard.

The lovely ArtResin and essential equipment.
Step 2. – Prepping for the resin, a.k.a. the fun part!
I don’t mind the resin dripping over the sides of my canvas, in fact I quite like it, though if you do want a clean edge taping the sides of the canvas with masking tape would help. (see ArtResin youtube).
Set the canvas on a stable work bench or table pop newspaper underneath (just incase) and layer table with in bags, split down one side. The bin bags will catch any dripping/pooling resin as it flow off the edge of the canvas and will also protect your table surface.
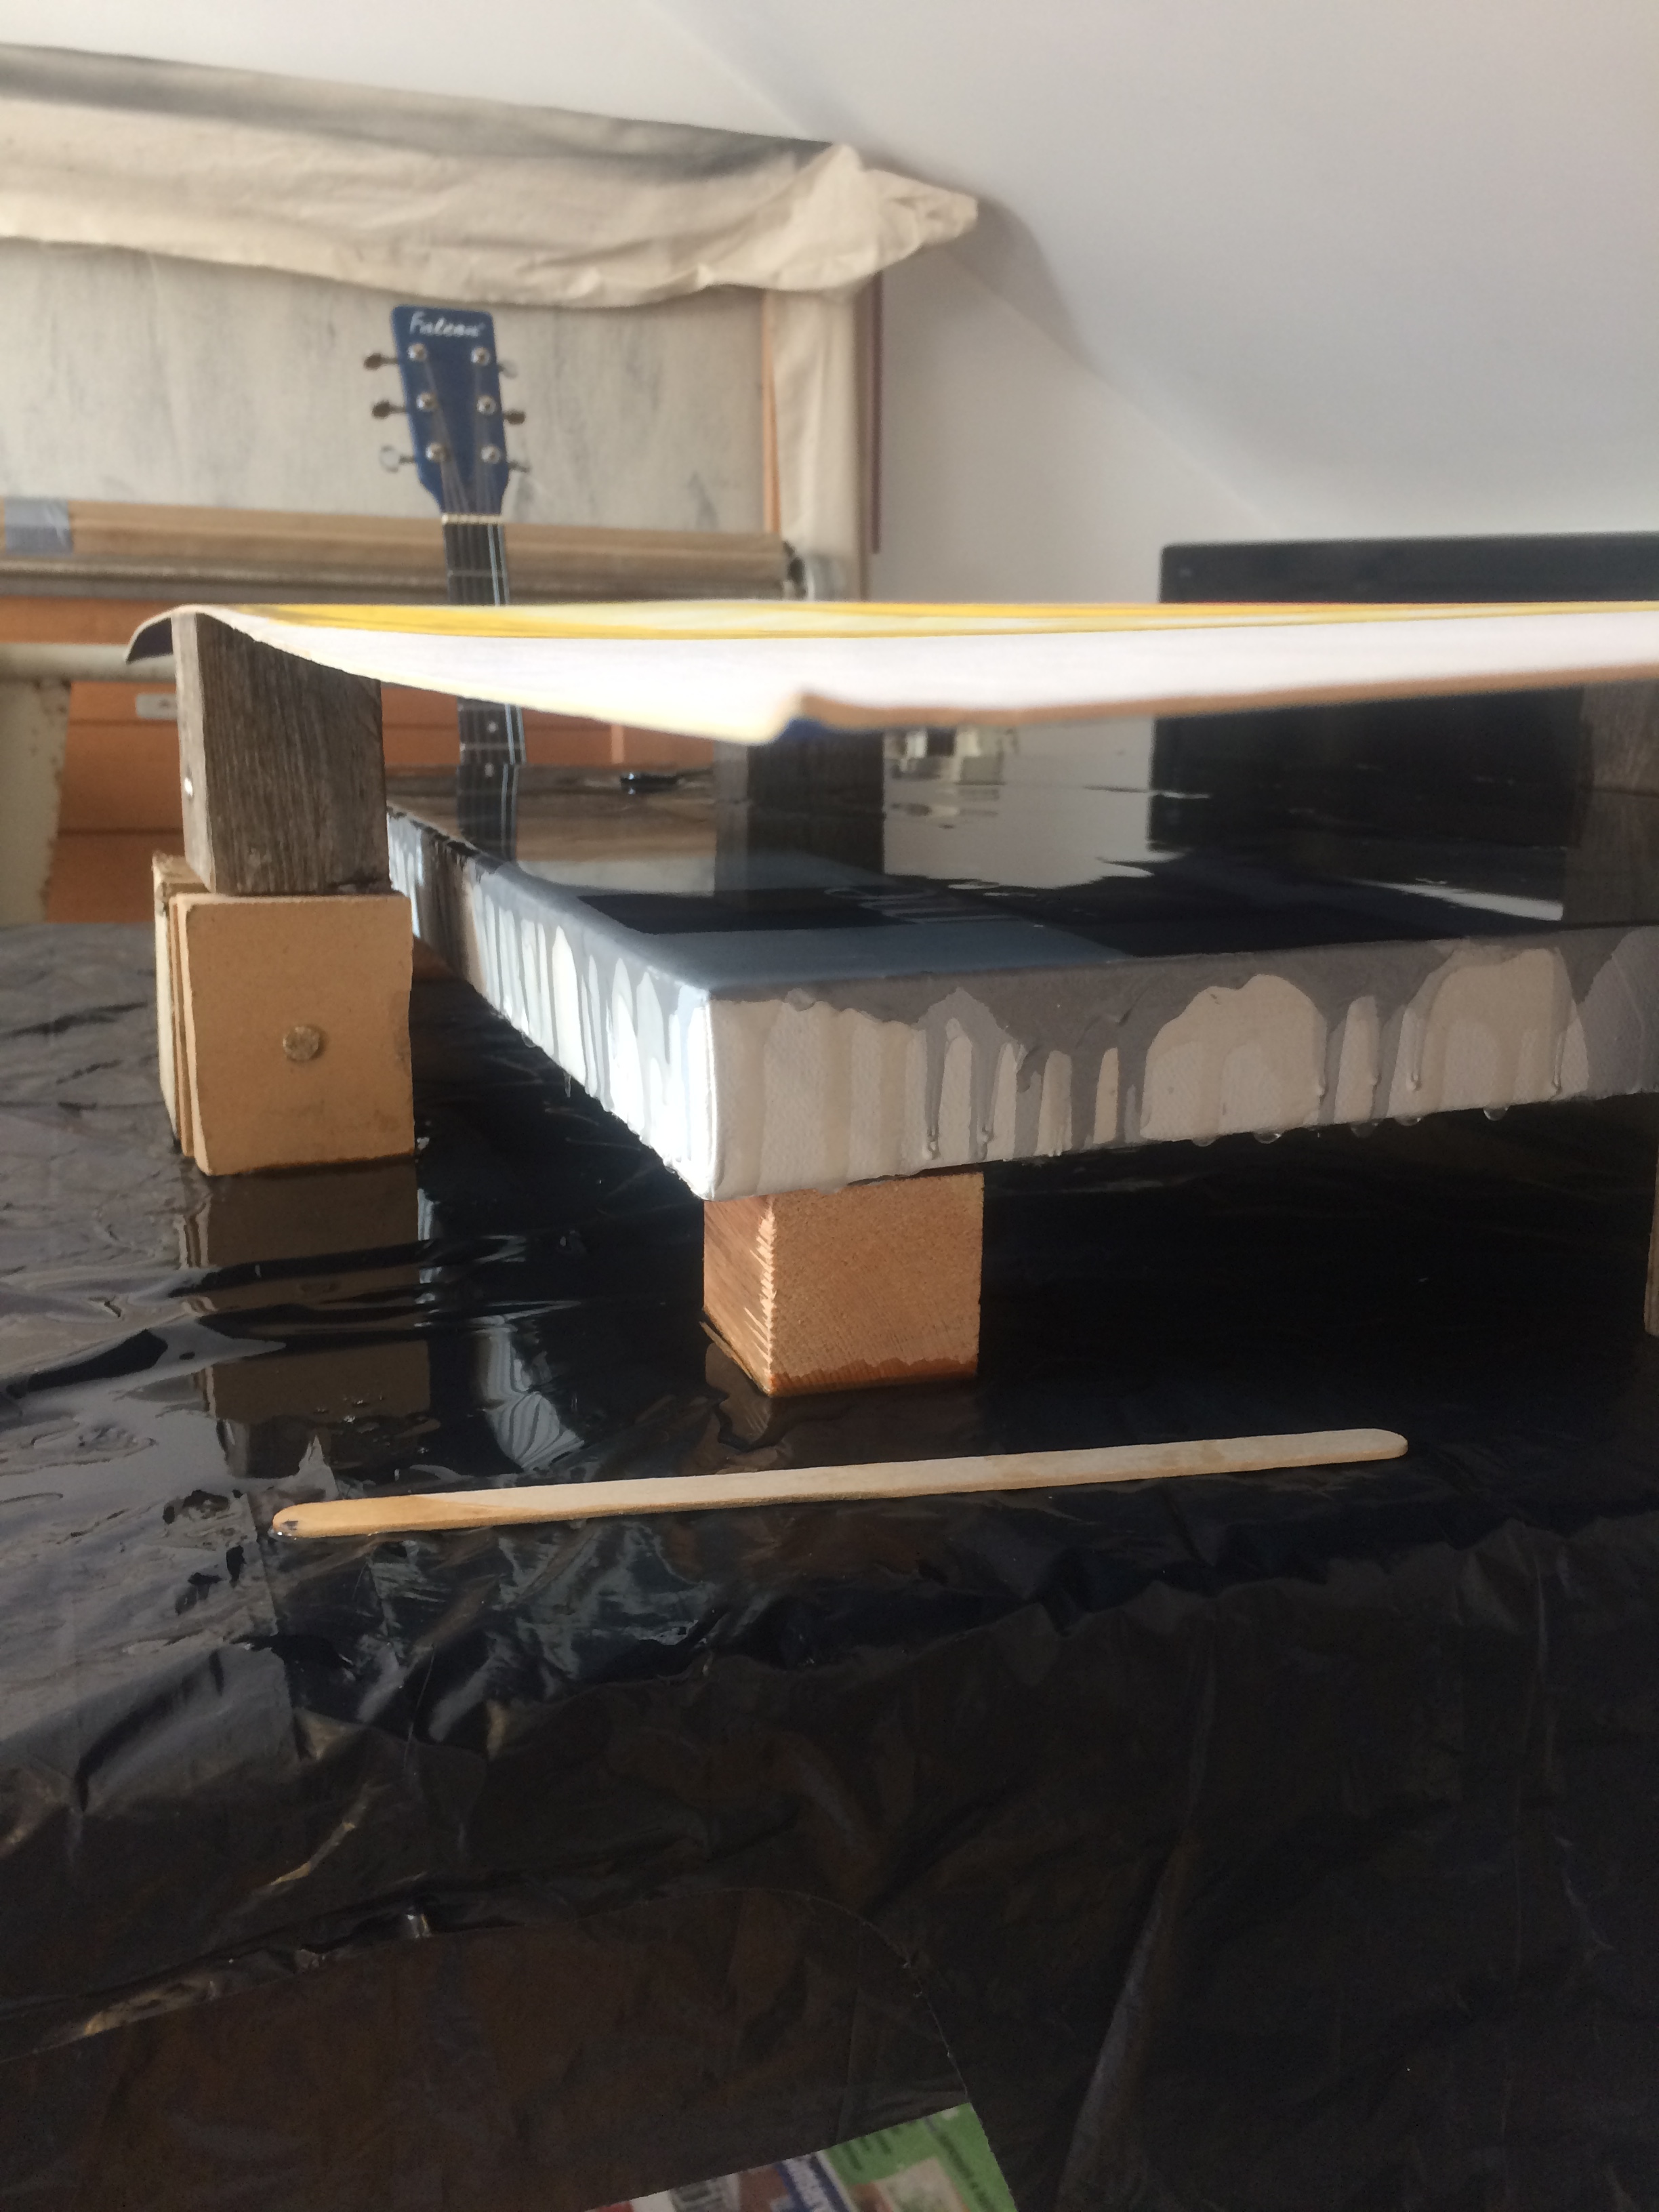
Under each of the four corners of your canvas insert a wooden block. I tend to use pieces of off cut wood, 2:4 etc etc…
Then place a spirit level on top of the canvas/artwork, horizontally and vertically, to make sure it is completely level. If it’s not I tend to use card or lollypop sticks to adjust. It is SO important to make sure your canvas/artwork is level before you start pouring, otherwise you will have an uneven depth and it will affect the look of the piece. Also, because I work on canvas, it is import to be aware of the size of the piece. Adding resin can make the canvas sag in the middle if it is large. To avoid this I usually have to support the centre with layers of card.


Setting up the canvas's on the table.
Step 3. – Applying the ArtResin
I came across ArtResin early on in my resin life.
It doesn't have a strong smell, is non-toxic, has a simple one-to-one ratio and you know you will end up with a beautiful finish!
Most importantly, the geniuses at ArtResin have applied every available bit of technology to make sure it is UV protected and will not yellow. Having confidence in the product I’m using is paramount and I am forever grateful that I can tell people what they are purchasing is of the highest quality and will not fade over time.
Then I don my extremely sexy rubber gloves and carefully measure out equal quantities of the hardener and resin, I combine them and stir for at least three minutes, scraping down the sides to make sure it is all combined. The longer the stir; and more combined the less air bubbles.
One final check that there is no dirt and all my paper is fixed (so no resin can get under and lift the layers), I then poured the resin slowly over the board. Taking care to cover ALL of the canvas, to do this easily I tend to use an old credit card or store card, perfect for spreading the resin evenly over the piece.
After a few minutes checking for missed areas, I bring out the heat-gun!! Basically the heat-gun will bring any air bubbles to the surface of the resin to pop, so you end up with a clear finish. Slowly; on the lowest setting, so as not to burn the resin, I move the heat-gun up, down, left, right, all over the canvas to encourage the bubbles to the surface. I also use tooth picks to pop the bubbles by hand.

Making sure the wooden blocks are level and support the canvases.
Step 4. – The finish
Now, this is important part…. because the ArtResin is still wet. I check for hairs and dust on the surface, either with the light refection from my windows (on a sunny day) or with a spot light.
Grab any of these nasty insurgents with a pair of tweezers…and wipe on an old cloth, check end of tweezers and carry on the inspection.
When I am happy with the lack of foreign bodies, I then start to build up wooden blocks on all four sides of my drying canvas. This is so I can then rest a large sheet of cardboard over the top of the canvas to stop any dust settling in the drying resin.
After about 3 hours in a normal moderate temperature the resin will be touch dry. Leave to cure for at least 72hours before moving.
RESULT!!! a lovely clear finished piece of artwork.

Adding supporting block around the edge of the canvas's for the sheets of protective card to rest on.
Leave to dry.

Reflections on the finished piece.